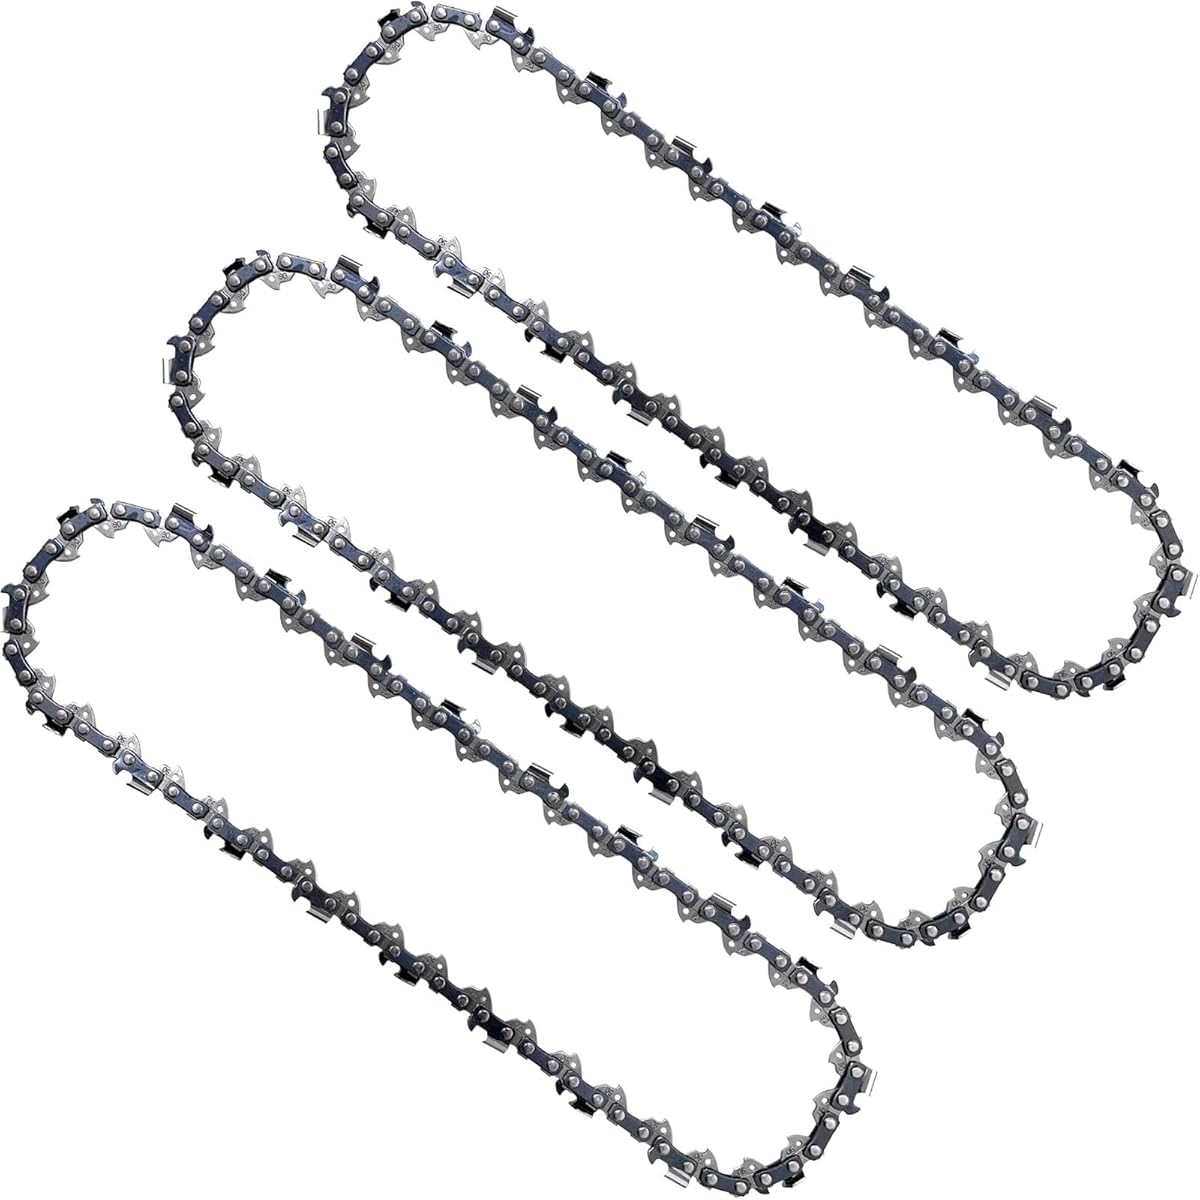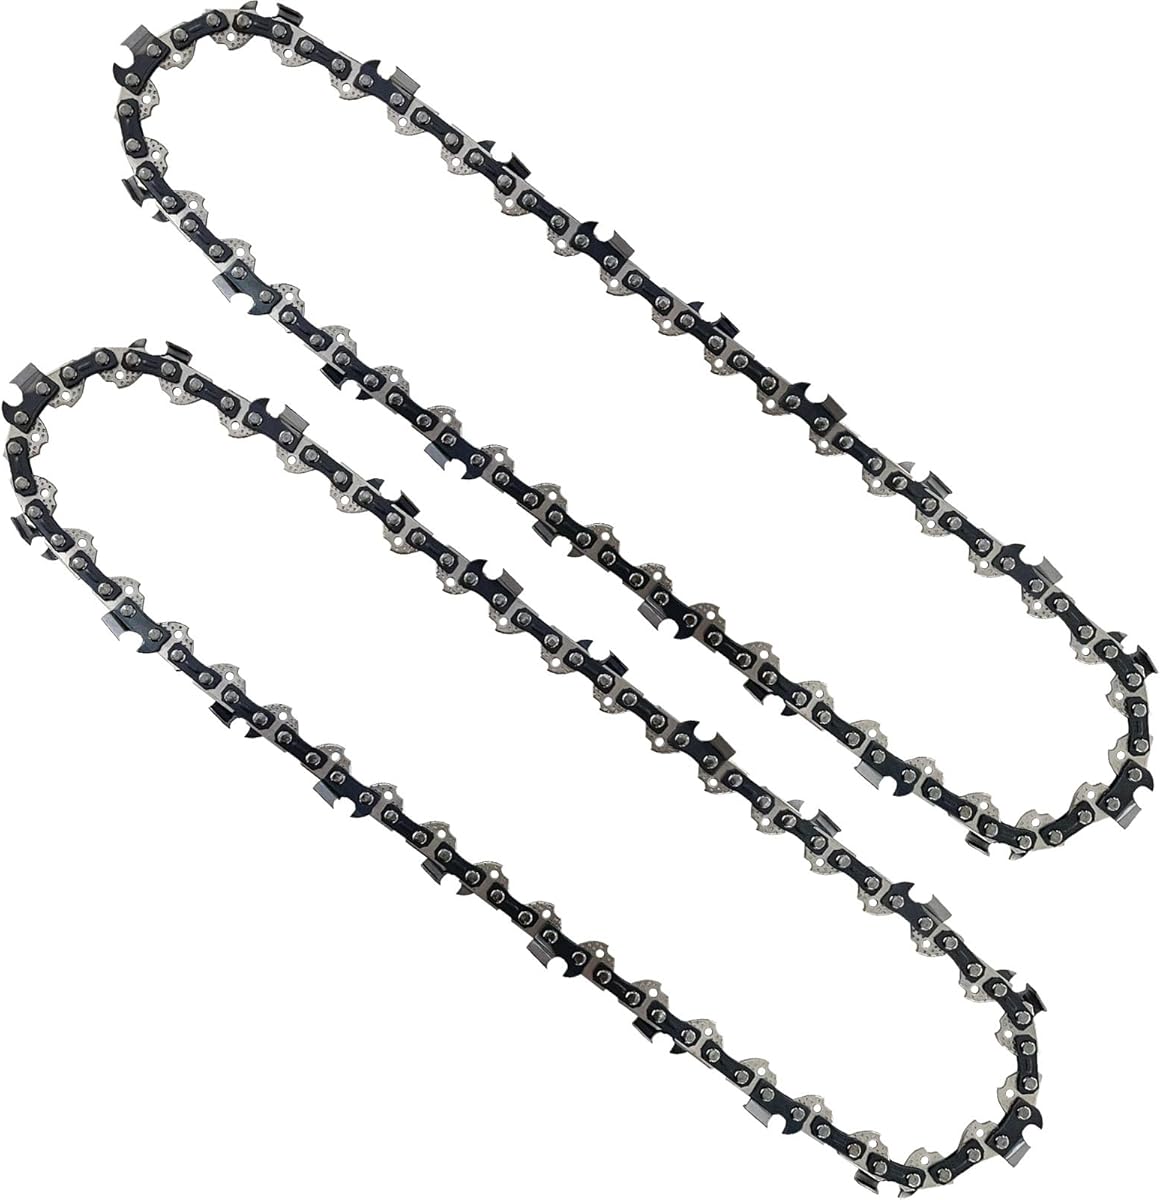
Overview
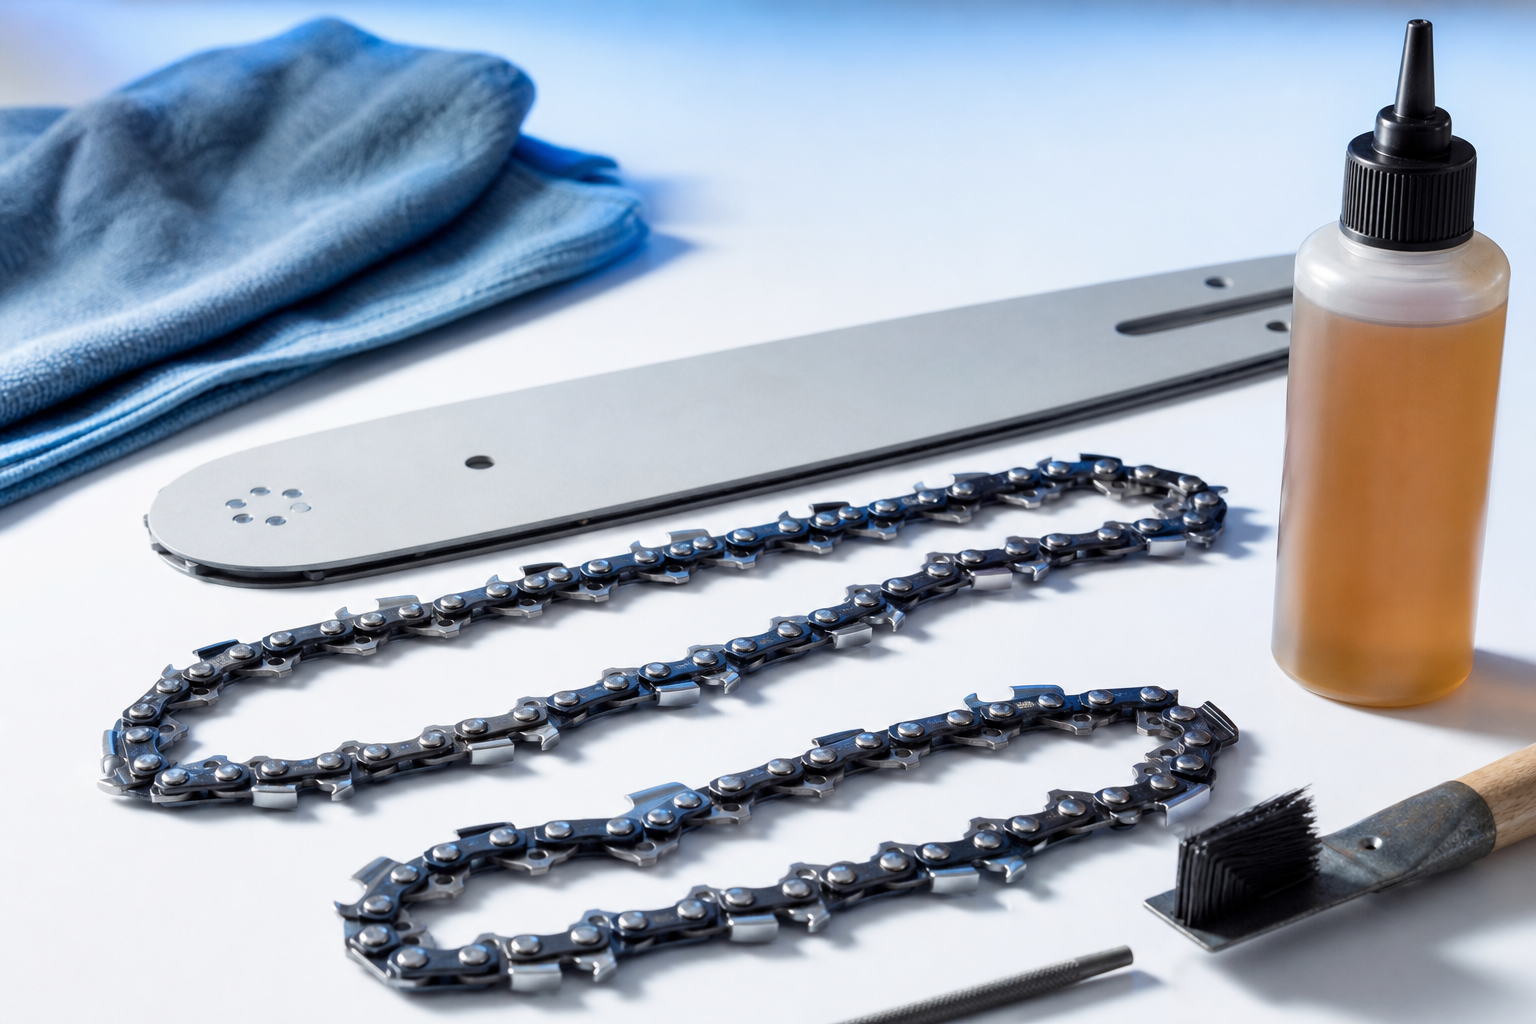
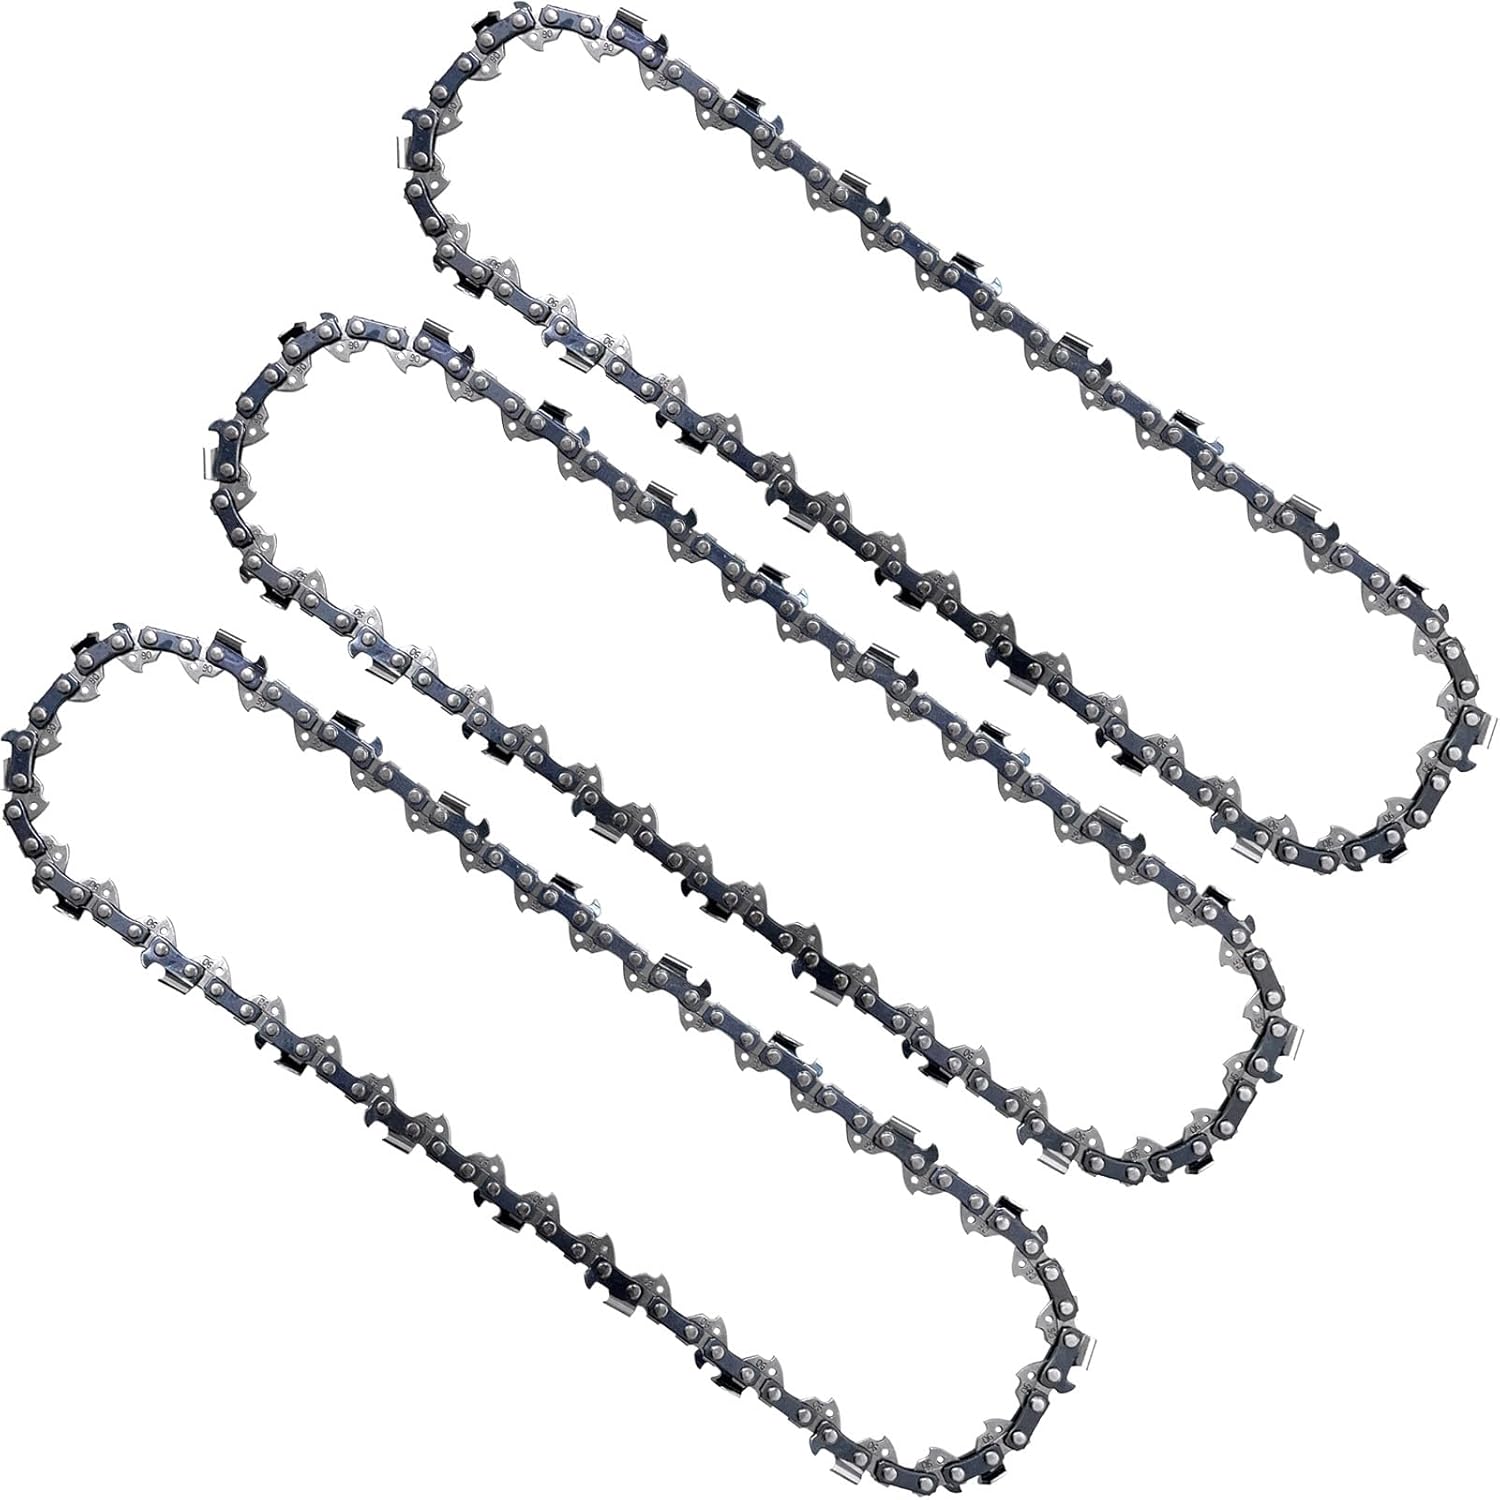
Ships as a 2-piece set, this chain is a direct replacement for EGO PSA1000 / PSA1020 / MPS1000 / MPS1001 / PPSX2504 10-Inch 56V Polesaw models. A worn chain strains the motor and increases kickback risk, so timely replacement keeps your saw running safely and efficiently.
Key specifications
- Bar length: 10”
- Quantity: 2 chains per pack
Compatibility
Manufactured to fit EGO PSA1000 / PSA1020 / MPS1000 / MPS1001 / PPSX2504 10-Inch 56V Polesaw without modification. Double-check your model number against the listing to ensure a correct match before installation.
Installation notes
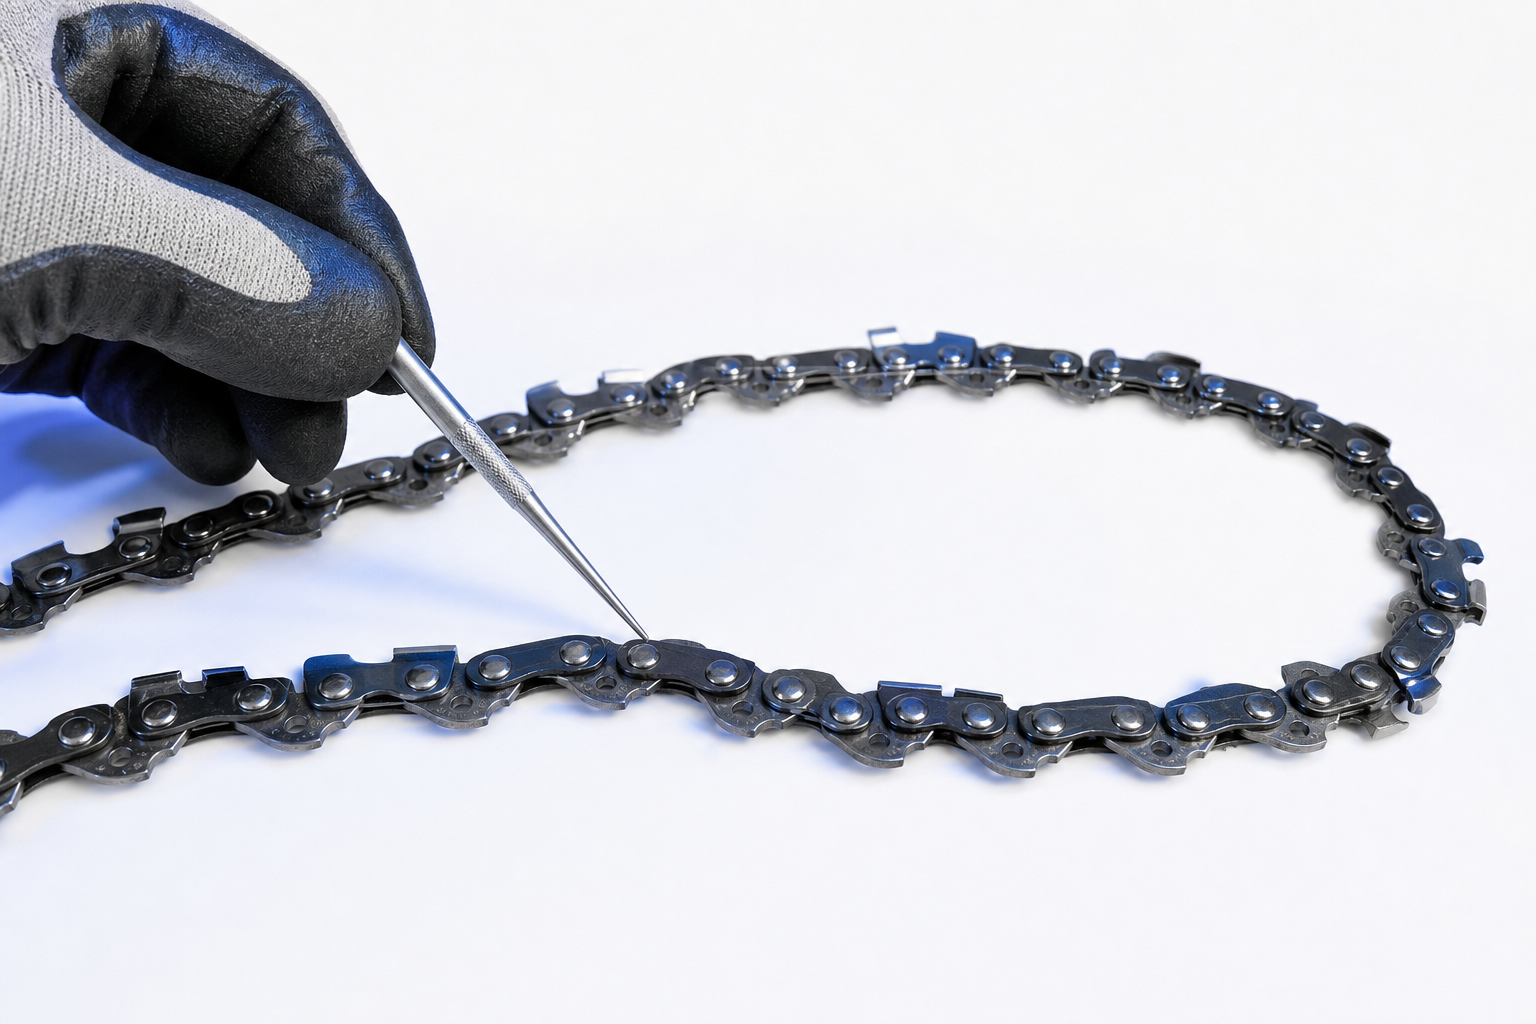
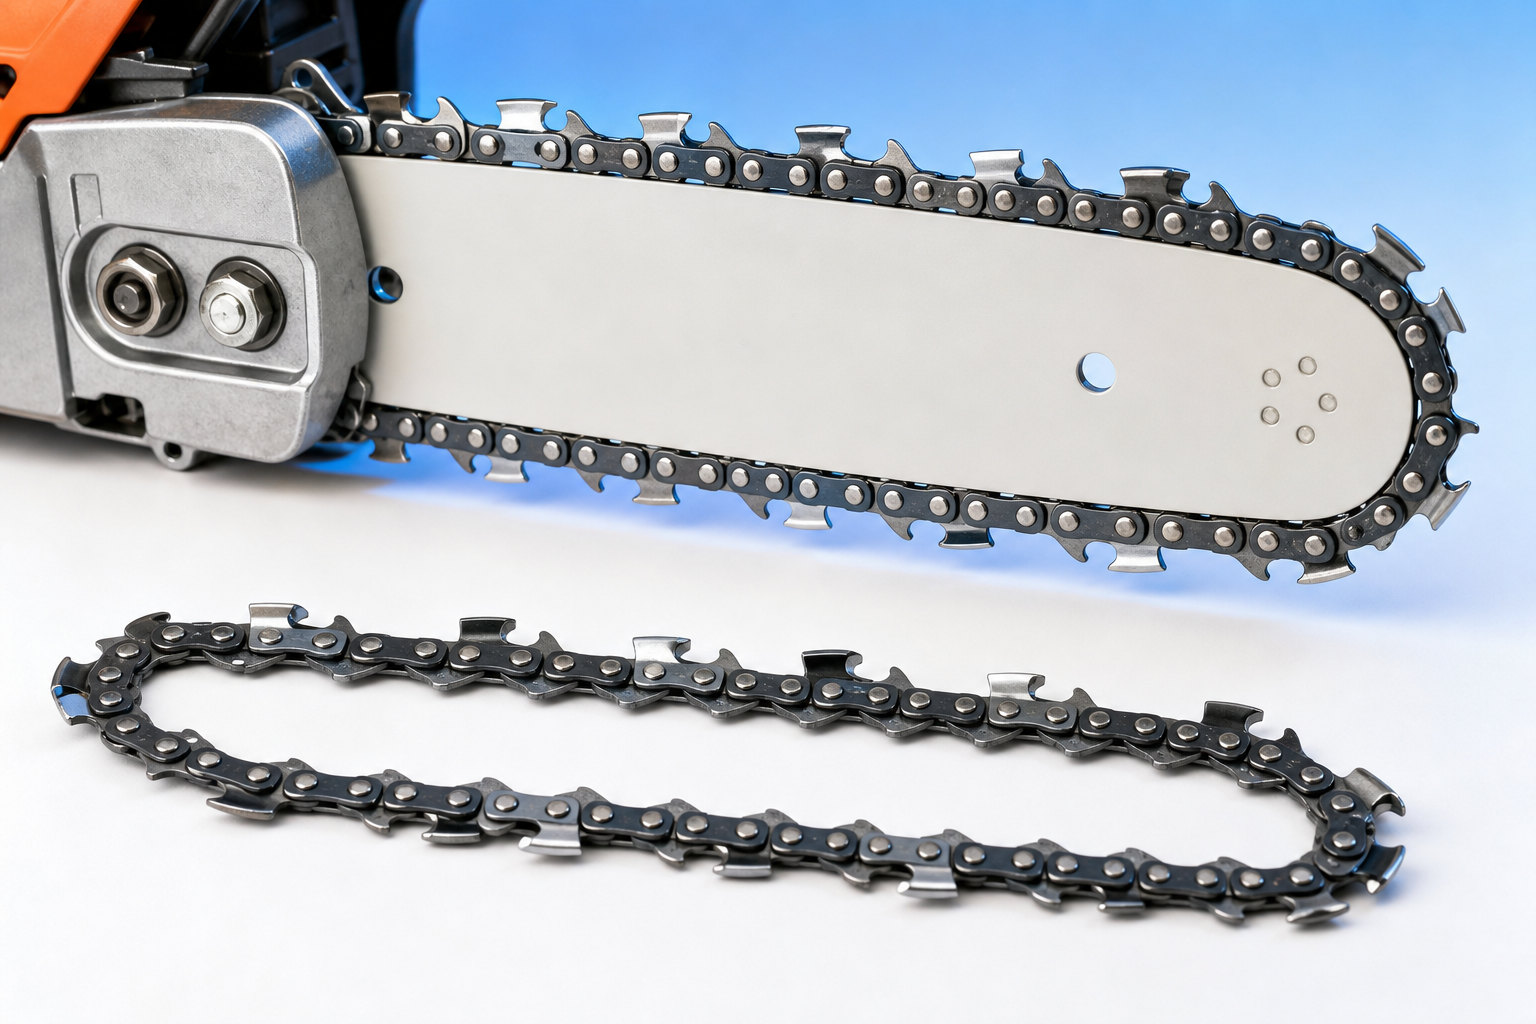
Disconnect the battery or unplug the pole saw before beginning any chain work. Remove the bar cover, take off the spent chain, and lay the new one into the bar groove with teeth oriented in the correct cutting direction. After reattaching the cover, set the chain tension so there is slight play but no sag under the bar. Run the saw briefly and recheck tension after the chain seats itself.
Common questions
Q: Will this 2-pack 10” chain fit my EGO PSA1020 pole saw, and does it also work with the MPS1001 power head setup?
Yes, this replacement chain is made for the EGO 10-inch 56V pole saw platform, including PSA1000, PSA1020, MPS1000, MPS1001, and PPSX2504 setups that use the 10-inch bar. As long as your saw is using the original 10-inch pole saw bar, this chain is the correct fit.
Q: How do I know when to replace the chain on my EGO PPSX2504 instead of just sharpening it?
If the chain is cutting slowly even after sharpening, pulling to one side, or the cutters are noticeably shortened, it’s usually time for a replacement. You should also replace it if there are damaged or cracked links, because a worn chain can put extra strain on the pole saw and bar.
Q: Is this 10” replacement chain difficult to install on the EGO PSA1000, and do I need to do anything after putting it on?
Installation is straightforward: remove the side cover, loosen the bar, swap the old chain for the new one, and make sure the cutting teeth face the correct direction on the top of the bar. After installation, set the chain tension so it sits snugly against the bar but still pulls around by hand, then run it briefly and recheck tension since new chains can stretch slightly at first.