§ How-To
Chainsaw Chain Installed Backwards? How to Tell and Fix It
Beginner mistake: chain teeth face wrong direction, saw produces dust instead of chips, easy to spot and correct
Published · Last updated:
Installing a chainsaw chain backwards is one of the most common beginner mistakes, and this question comes up often in owner forums. The good news is that it is easy to diagnose and easy to fix. If your saw seems to run but barely cuts, makes fine dust instead of wood chips, or forces you to push hard through the wood, the chain may simply be facing the wrong way. Whether you use a battery chainsaw or a gas model, the correction is the same: confirm the cutter direction, reinstall the chain properly, tension it, and test it safely.
How to Tell if a Chainsaw Chain Is Installed Backwards
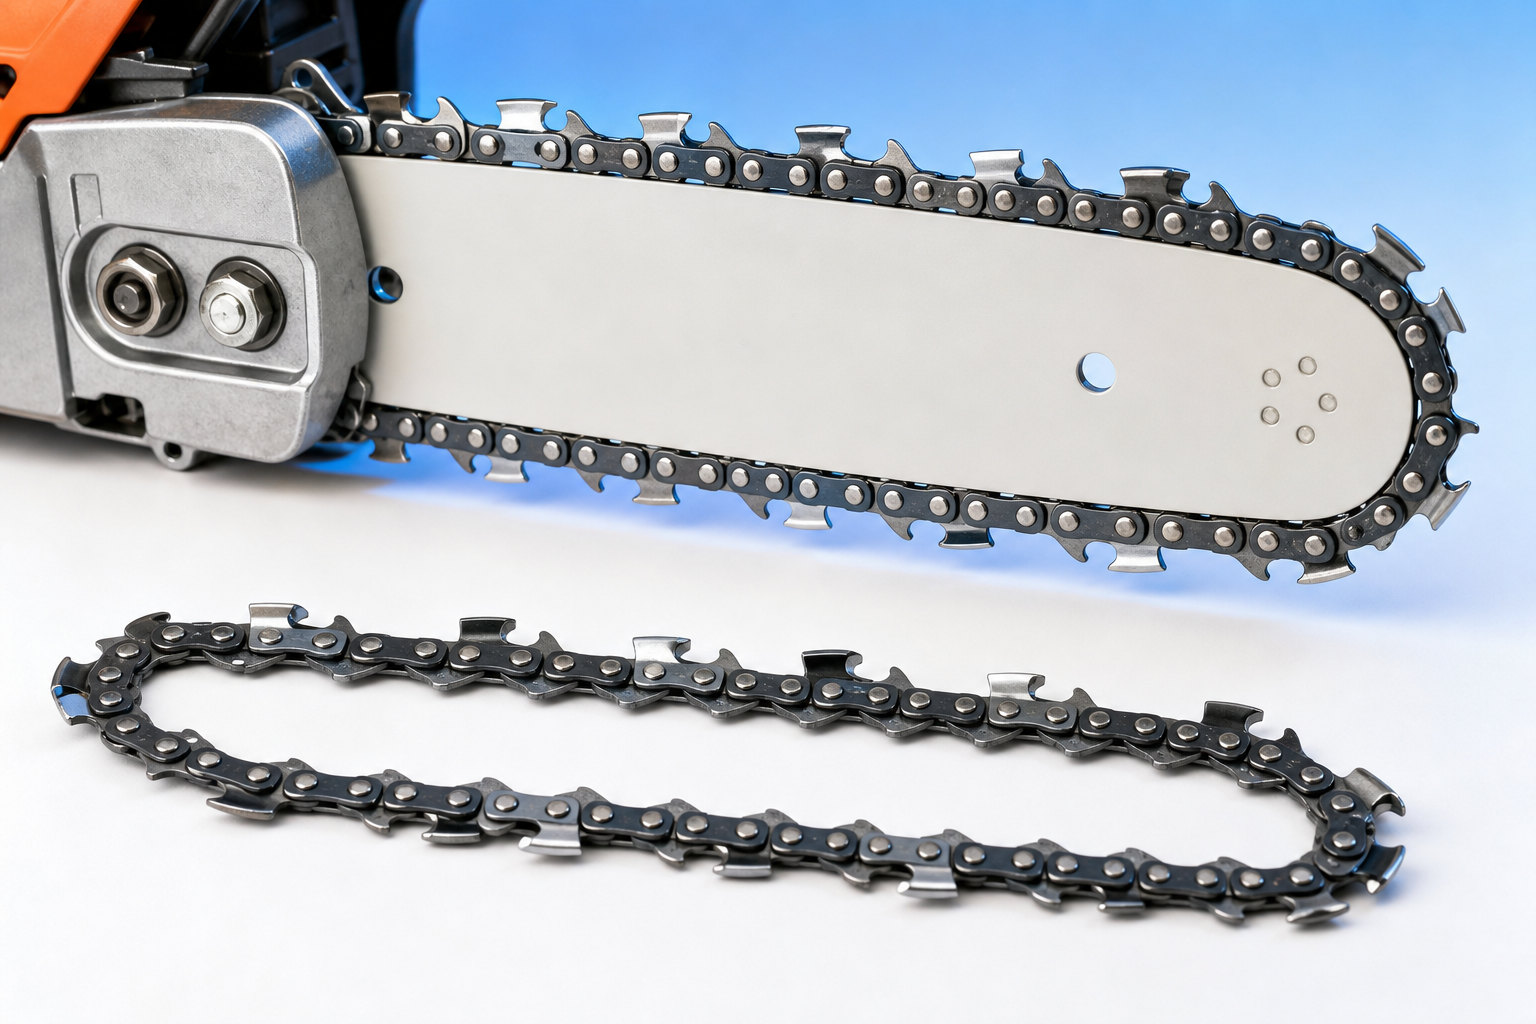
The fastest way to check is to look at the cutting teeth on the top of the guide bar. On a correctly installed chain, the sharp leading edge of each cutter on the top run of the bar should point away from the saw body and toward the bar nose. In simple terms, the chain should move forward across the top of the bar, and the cutters should be oriented to bite into the wood in that direction.
If the cutters on the top of the bar point back toward the powerhead, the chain is backwards.
Here are the most common signs:
- The saw creates sawdust instead of larger chips
- The chain seems to skate across the wood instead of pulling in
- You need to apply too much pressure to make any cut
- A newly sharpened or brand-new chain cuts worse than the old one
- The chain rotates normally but does not feed into the wood
Many owners notice the problem right after replacing a worn chain. That makes sense, especially when installing a replacement chain for the first time. If you recently matched a new chain by bar length, pitch, gauge, and drive-link count but the saw still will not cut, the next thing to check is direction.
A simple visual rule helps: on the top of the bar, the cutter tips should face forward. On the bottom return side of the bar, they will face backward toward the saw, because the chain loops around.
Why a Backwards Chain Will Not Cut Properly
Chainsaw cutters are shaped like small chisels. They are designed to slice wood fibers only when traveling in the proper direction. If installed backward, the rounded back side of the cutter contacts the wood first, so instead of biting in and clearing chips, it rubs and scrapes.
That leads to several performance problems:
- Poor cutting speed
- Excess heat at the bar and chain
- Extra strain on the motor or engine
- Premature bar, sprocket, and chain wear
- More operator fatigue from forcing the saw
A backwards chain usually does not mean the chain is ruined. In most cases, you can remove it, flip it around, reinstall it, and continue using it as long as it was not overheated or damaged. If you ran it for long enough to blue the cutters, discolor the links, or overheat the bar, inspect everything closely before putting it back into service.
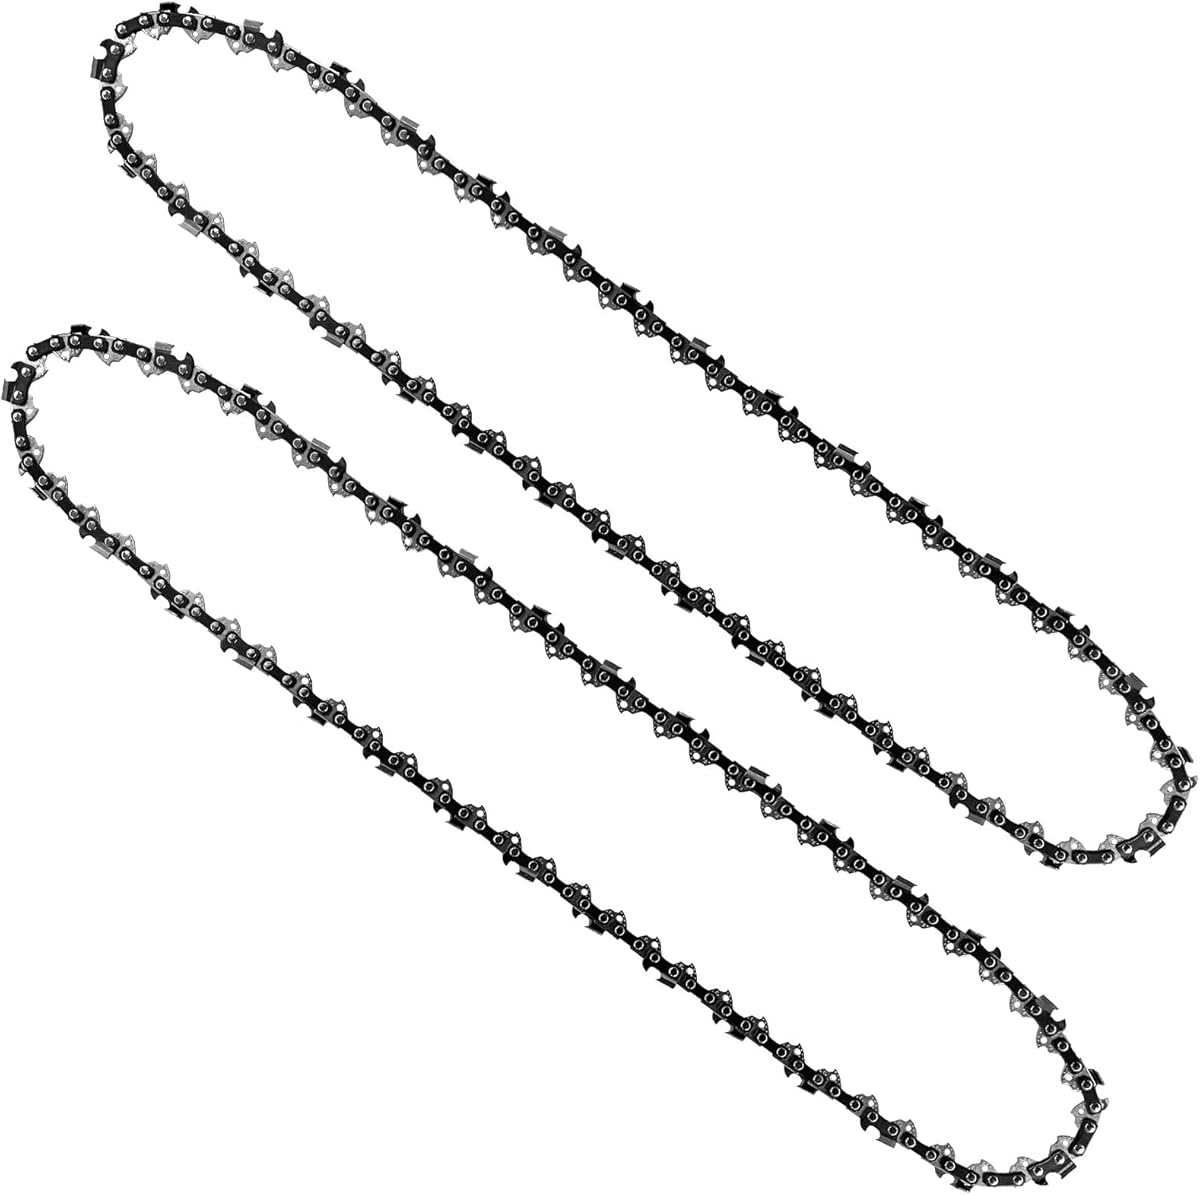
This is also a good reminder that exact-fit chains matter. A chain can be properly oriented and still perform poorly if the pitch, gauge, or drive-link count does not match the bar and sprocket. Homeowners shopping for replacement chains should always verify bar length plus those three specs rather than relying on length alone.
How to Fix a Chainsaw Chain Installed Backwards
Before working on the saw, remove the battery from a cordless model or disconnect the spark plug wire on a gas chainsaw. Wear gloves, because even a dull chain has sharp edges.
Follow these steps:
-
Loosen the side cover Use the scrench or wrench to remove or loosen the clutch cover/side cover so the bar can move freely.
-
Back off the chain tension Turn the tension screw to create slack in the chain. This makes removal easier and prevents binding around the bar nose.
-
Remove the bar and chain Lift the chain off the drive sprocket and slide it out of the bar groove. Keep track of how it was routed around the sprocket.
-
Check cutter direction Lay the chain on a flat surface and look at the cutters. The sharp cutting edge should face in the direction the chain travels on the top of the bar.
-
Reinstall the chain in the correct orientation Fit the chain around the drive sprocket first, then guide the drive links into the bar groove. Make sure the top cutters point forward toward the bar tip.
-
Seat the bar properly Pull the bar outward slightly so the drive links stay engaged with the sprocket and bar groove.
-
Set chain tension Turn the tensioner until the chain sits snugly against the underside of the bar but can still be pulled around by hand with a gloved hand.
-
Tighten the side cover Once tension looks correct, hold the bar nose up and fully tighten the bar nuts or cover fasteners. Holding the nose up prevents the bar from dropping and changing the tension setting.
-
Recheck tension Pull the chain along the bar. It should move smoothly without sagging underneath. The drive links should remain engaged in the groove.
That is usually all it takes. On most homeowner saws, correcting the chain direction takes only a few minutes.
Chain Tension and Fit Issues to Check Before You Cut Again
After flipping the chain, do not stop at direction alone. A lot of cutting complaints that seem like a backwards chain are actually caused by poor tension or mismatched chain specs.
Check the following before restarting the saw:
Correct tension
A loose chain can derail, and an overtightened chain can overheat and wear the bar and sprocket. On a cool chain, you should be able to pull the chain slightly away from the bar and see some drive link, but not so much that the links come fully out of the groove.
Proper bar groove engagement
Every drive link should sit correctly in the guide bar groove and around the drive sprocket. If a few links are riding on top of the groove, the chain may bind or jump.
Matching chain specifications
For exact-fit replacement chains, verify:
- Bar length
- Pitch
- Gauge
- Drive-link count
These four details matter on both gas and battery chainsaws. Many homeowners assume that any 16-inch chain fits any 16-inch saw, but that is not true. Two saws with the same bar length may use different pitch, gauge, or drive-link counts.
Bar and sprocket condition
If the chain was run backward for a while, inspect the bar rails for discoloration or burrs and check the sprocket for unusual wear. A damaged bar can make even a correctly installed chain cut poorly.
Chain sharpness
A backward chain and a dull chain can produce similar symptoms. If you corrected the direction and the saw still makes dust, inspect the cutting edges and depth gauges. A chain that is dull, rocked, or unevenly sharpened may need sharpening or replacement.
Safe Test-Cutting and How the Saw Should Perform
Once the chain is installed correctly and tensioned properly, test the saw on a clean piece of wood at a stable work height. Let the chain come up to speed before contacting the wood.
A properly installed chain should:
- Pull itself lightly into the cut
- Produce chips rather than powdery dust
- Cut straight with modest feed pressure
- Sound smooth and consistent under load
Do not force the saw. If it still refuses to cut well, stop and inspect for dull cutters, low chain speed, lubrication problems, or an incorrect replacement chain. Confirm that bar oil is reaching the chain, especially if the saw became hot during the earlier failed cuts.
For owners replacing chains regularly, keeping one note in the toolbox with the saw’s exact chain specs can save time and eliminate mistakes. When buying replacement chains, match bar length, pitch, gauge, and drive-link count exactly so the new chain installs and performs as intended.
Watch: Video Walkthrough
FAQ
How do the teeth face on a chainsaw chain?
On the top of the guide bar, the cutter teeth should face forward, away from the saw body and toward the bar tip. That is the easiest visual check.
Will a chainsaw be damaged if I run the chain backwards?
Usually not if caught quickly, but it can create heat and unnecessary wear on the chain, bar, and sprocket. Fix it immediately and inspect for overheating or damage before continuing.
Why is my chainsaw making dust instead of chips after installing a new chain?
The most common causes are a backwards chain, a dull chain, or an incorrect replacement chain. Start by checking the cutter direction, then confirm the chain matches the bar length, pitch, gauge, and drive-link count.

Find the right part on Amazon
Check price, stock and fitment — ships direct from Amazon.
§ Parts